








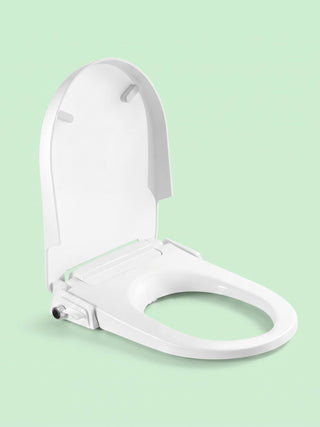


Most people fit a bidet attachment themselves: seat off, attachment in between, connect to the angle valve and put the seat back on. Tools: nothing dramatic.
“That's a job for a plumber.” So plenty of people shy away from retrofitting, even though it's barely more work than swapping a toilet seat.
A bidet attachment goes between the ceramic and the toilet seat. You unscrew the existing seat, lay the attachment on top, then mount the seat back over it. The attachment takes its water from the angle valve that already feeds the cistern – via a T-piece in between.
Usually all you need is a screwdriver and the parts that come in the box. If the attachment fits your toilet shape, it takes half an hour. What matters is knowing your toilet's shape and hole spacing beforehand.
“You need a plumber for this.”
Usually not. It's a seat swap plus a water connection at the angle valve.
“You have to open up the wall.”
No. Nothing structural gets changed.
“It fits on any toilet.”
Almost. Check shape and hole spacing first.
“It won't stay watertight.”
It will, if fitted correctly. Seals are included.
Retrofitting means: seat off, attachment in between, water from the angle valve. No renovation, no tradesperson needed – just the right fit.
Not sure if it fits?
Find out in a few steps which bidet fits your toilet. With a photo or measurements.
AI assistant. Replies instantly, even at night.

Discover our products and do the best business of your life.
One word usually does it. Or just tap something below.
Popular Quick answersOne word usually does it. Or just tap something below.
Popular Quick answers