
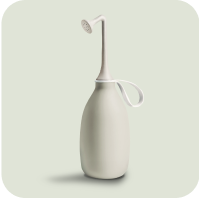


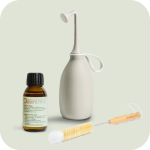

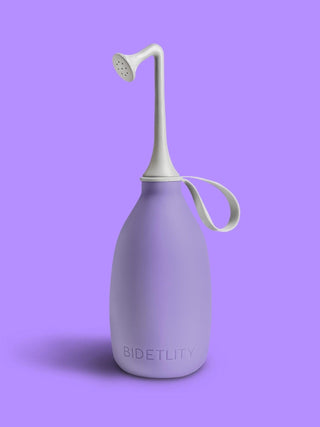

Every two weeks: 10 ml of ActiveCare+ into the bottle, top up with lukewarm water, wait two hours, go over it with the cleaning brush, rinse out, and let it dry uncovered. Household remedies will do in a pinch. Don't boil it, and don't put it in the dishwasher.
Cleaning a butt shower is part of using one. Not out of worry. Out of principle.
Over time, water leaves residue behind. That's why every reusable bottle needs care. Cleaning it regularly keeps things hygienic, prevents buildup, and extends the life of your butt shower.
It's no big deal. You just have to do it.
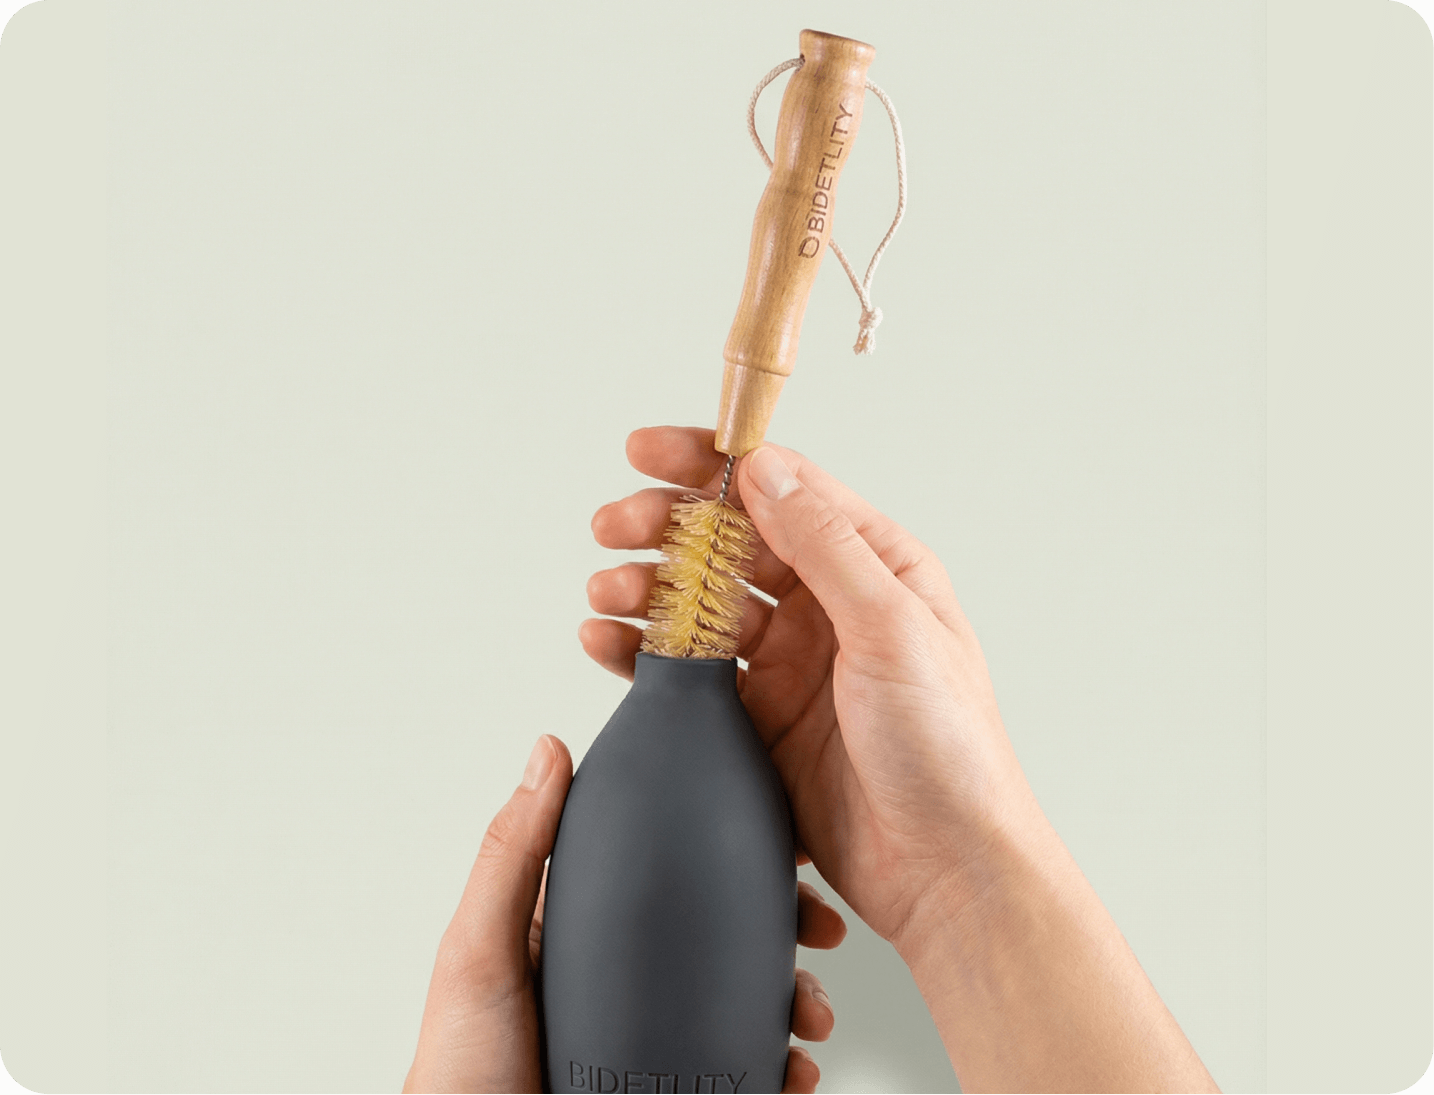
You should clean your butt shower about every two weeks.
With very hard water, a shorter interval can make sense. What matters is consistency. Don't wait until you can see something building up.
Care is easier than catching up.
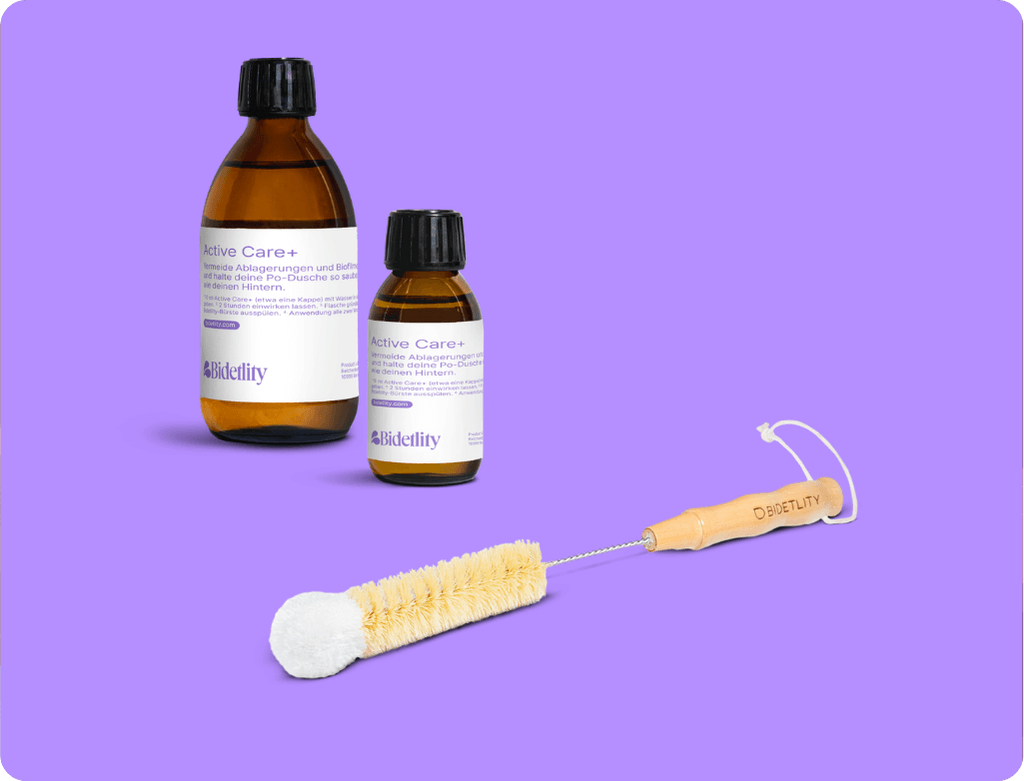
If you want a systematic solution that's gentle on the material, a cleaner made for the butt shower is the way to go.
ActiveCare+ was developed specifically for cleaning the bottle. It dissolves residue effectively and is matched to the material.
Regularly:
Clean every two weeks and there's less to dissolve.
Thoroughly:
Dissolves light buildup inside the bottle.
Rinse afterwards:
ActiveCare+ was developed for the bottle. Rinse thoroughly with clear water before using it again.
Considering that the bottle is in regular contact with water and made for long-term use, a cleaner designed for it is often the smarter choice.
If you want to keep things simple in the long run, go with the cleaning brush and ActiveCare+.
If you want to clean your butt shower with household products, that's easy enough:
Household remedies dissolve light buildup. But make sure they don't attack the material over the long term.
After every cleaning, the bottle should dry completely.
If you simply turn it upside down, a little water stays inside. You won't see it right away, but the moisture is still there.
That removes the residual moisture too.
Less moisture means less buildup. And a longer life.
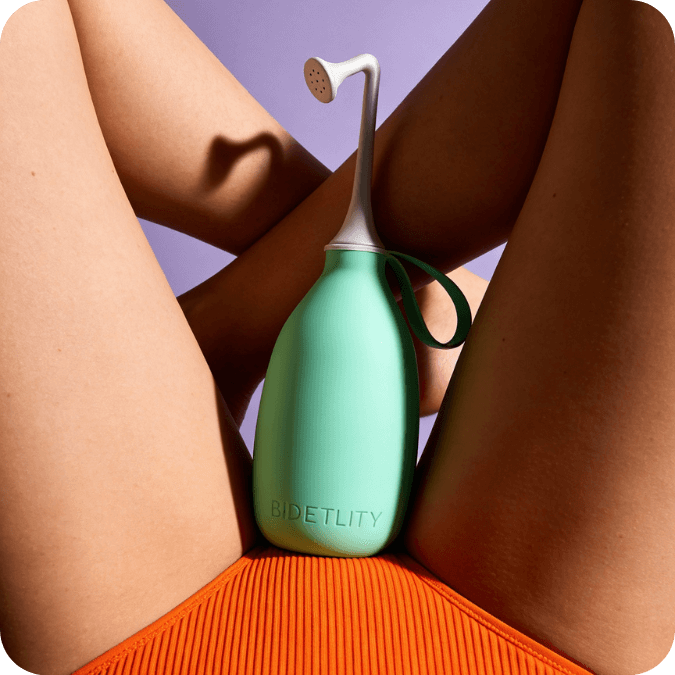
Sexual wellness doesn't end with the orgasm. What happens afterwards is just as much a part of it: freshness, cleanliness, well-being. Why water wo...
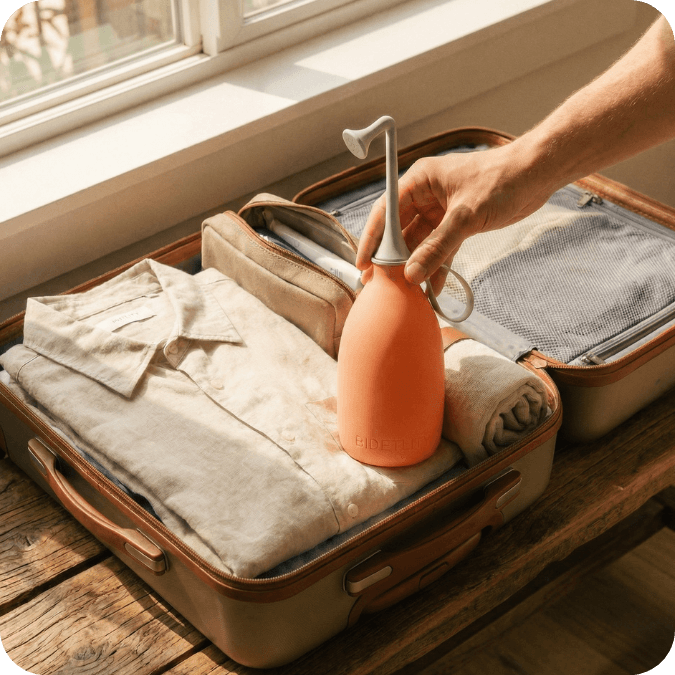
Camper van, festival, hostel toilet: on the road, paper is usually the only option — and it's not enough. Why a mobile butt shower makes all the di...
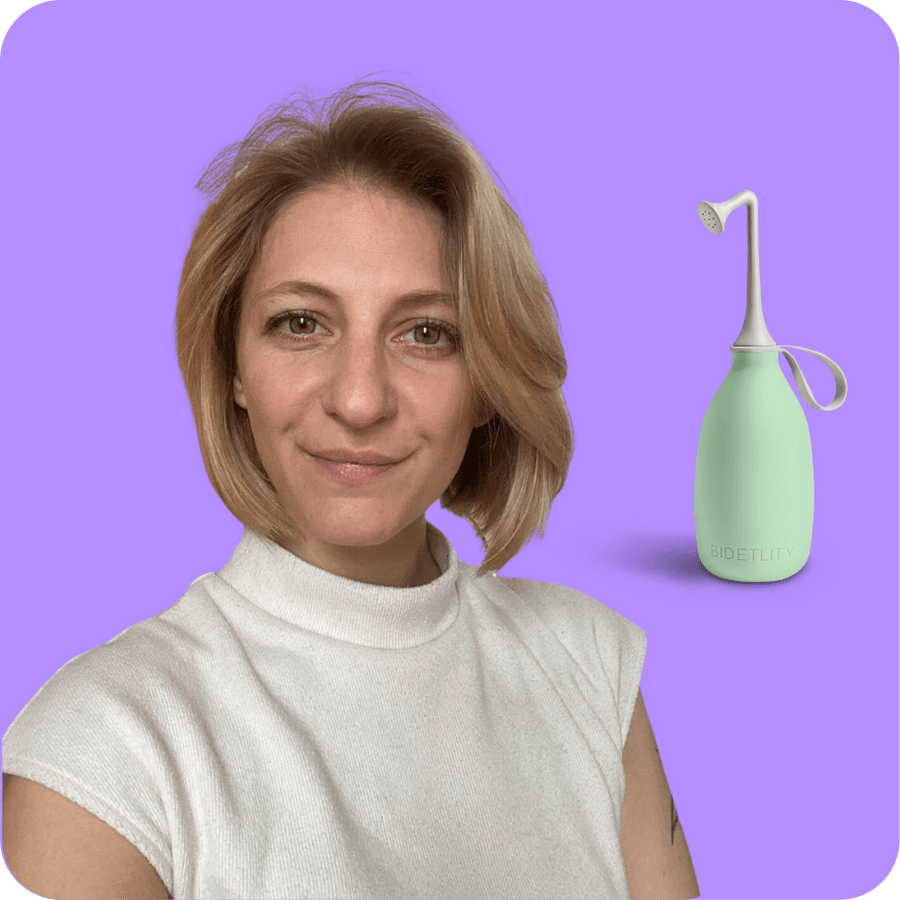
On my travels with a tent, car, or camper, I often ran into hygiene challenges. Then I discovered BIDETLITY, the mobile butt shower. In a four-week...

Discover our products and do the best business of your life.
One word usually does it. Or just tap something below.
Popular Quick answersOne word usually does it. Or just tap something below.
Popular Quick answers